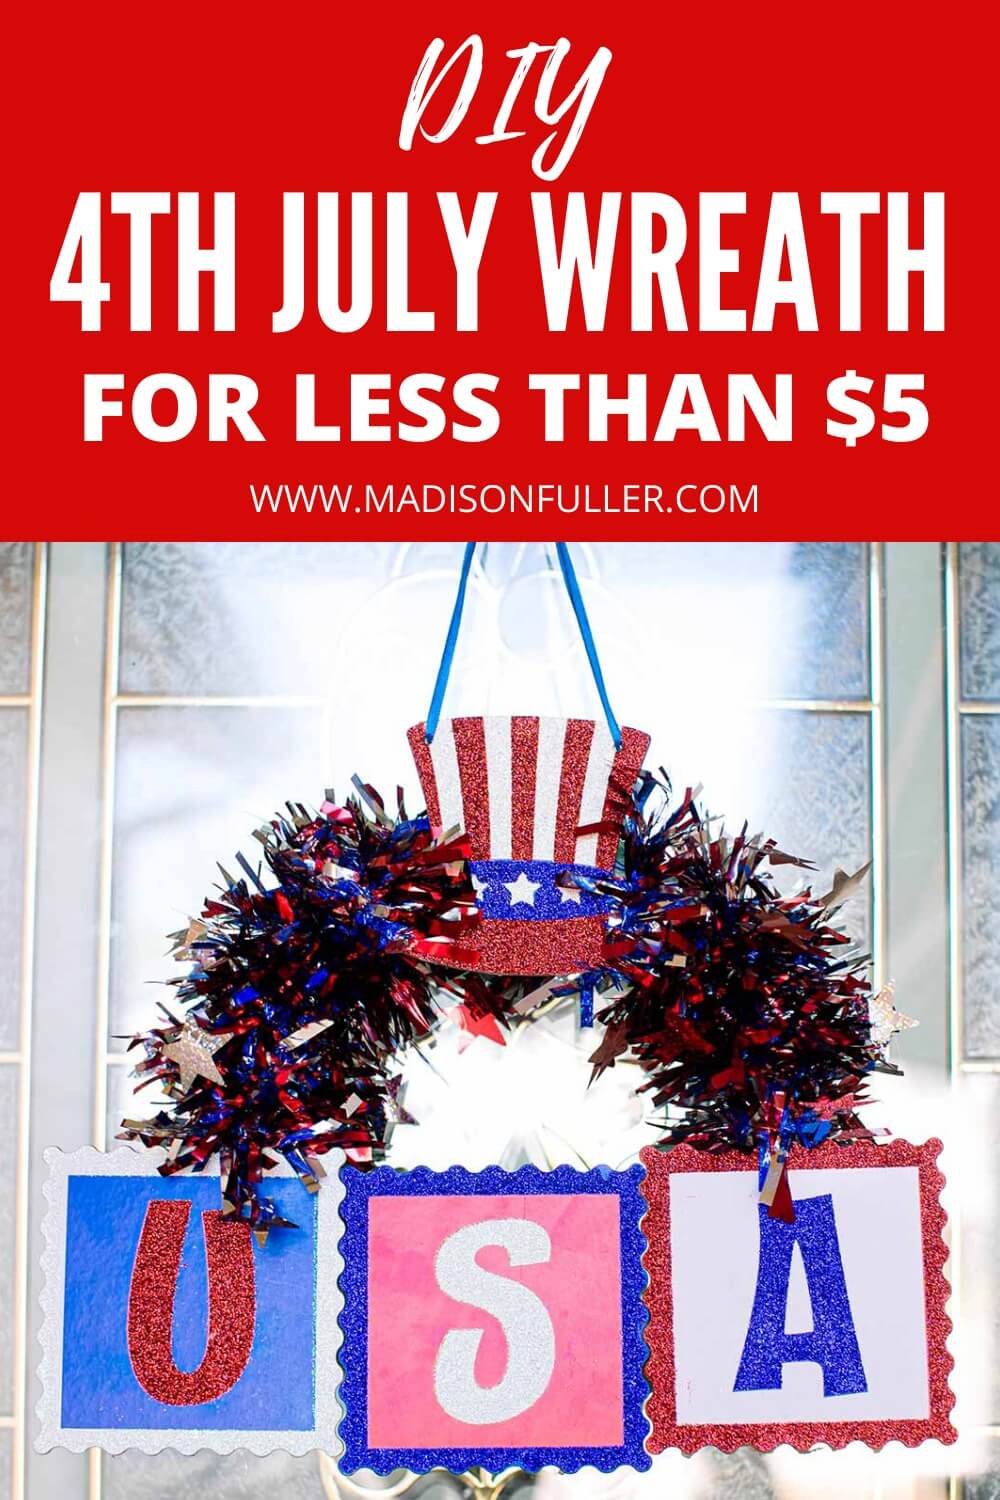
Today I want to share how you can make a 4th of July Wreath for under $5 with dollar store supplies. Now, this is a mini-wreath, like my previous Halloween Wreath, but only because we purchased the small foam wreath form. If you go up a size, it will still cost less than $5.

The 4th of July is going to be here before you realize it, but mommy likes decorating her front door with a wreath for the seasons and special holidays. This spring, she created a beautiful umbrella tulip wreath that literally took 5 minutes to do. Even the non-crafty person can recreate it.
We have truly gotten into a patriotic kick around my home. It could be that Memorial Day is just a few days away, and with my mom having served in the military, she gets really emotional around that time.
So far, we've made my 4th of July Mason Jar Vases, and then my mom decided to get crafty with pinecones and made some Patriotic Pinecone Flowers to add to my vase. If you've never turned pinecones into flowers, they're super easy to do, and you can get the full details over on her blog.
So let's talk about this 4th of July Wreath. Now, mommy enjoys having wreaths on her front door, as I mentioned before, but the one thing she doesn't like is the price. They're very expensive in stores, and you can very easily and quickly make your own. For this one, we visited the dollar store and were able to get everything we needed for just $3. There's no way that you can find a wreath in store for that little. Not only is it affordable to make, but it takes very little time as well. Here's how it's done.

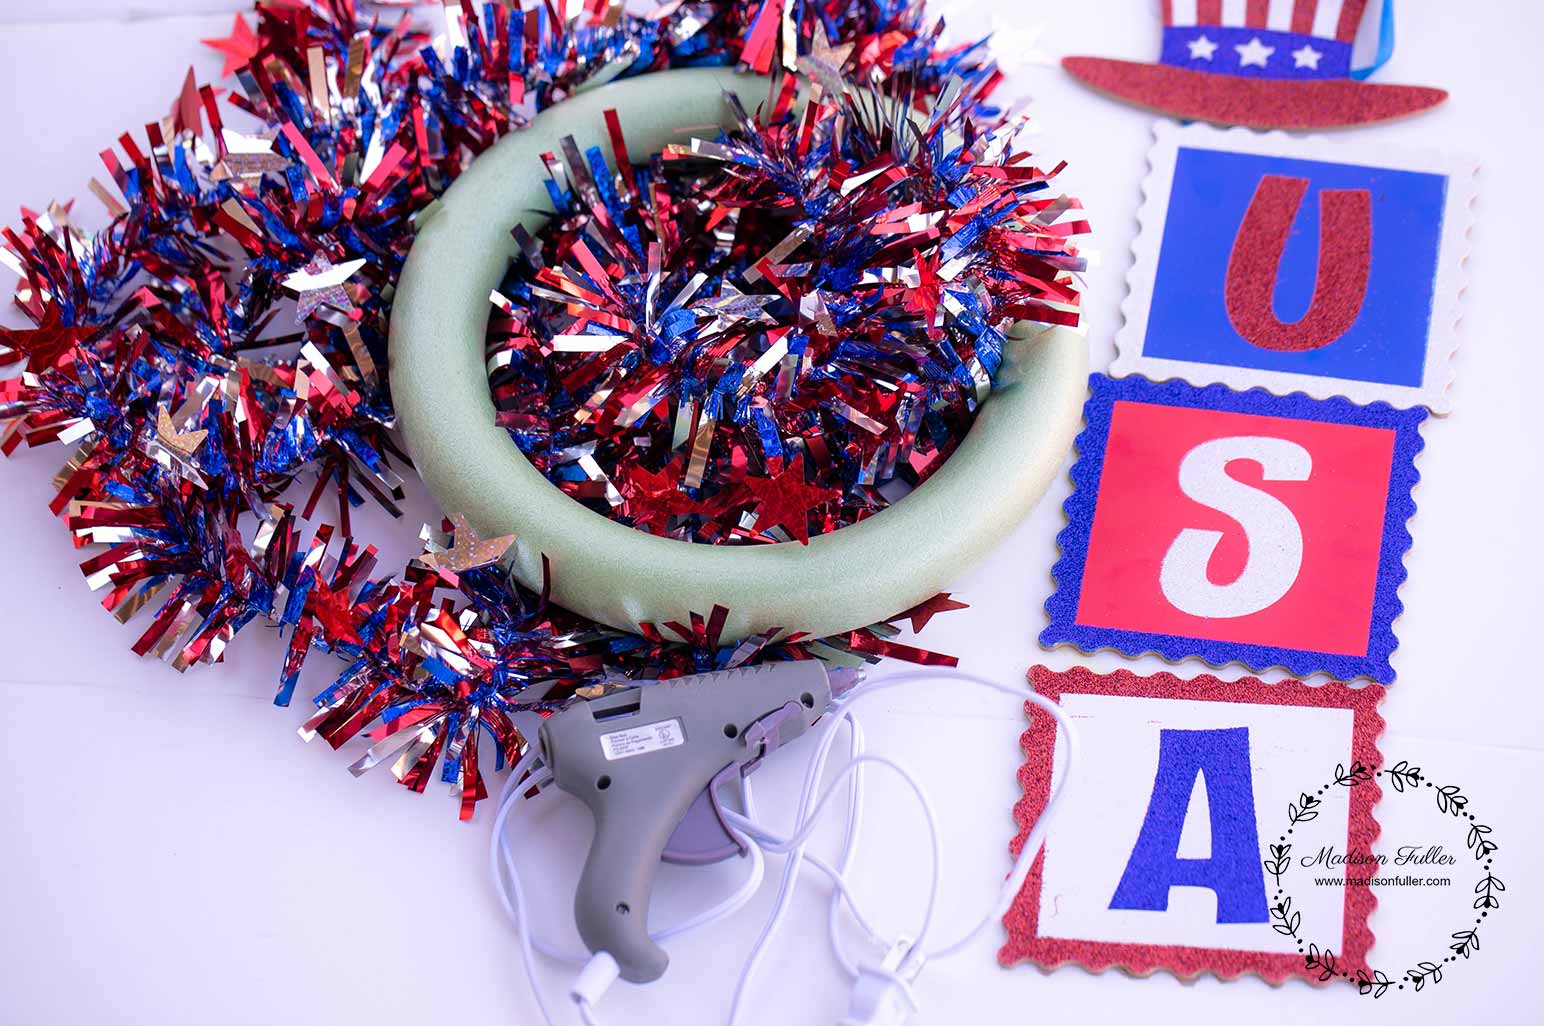
Mini Wreath Form
Patriotic USA Hanging
Patriotic Garland
Glue Gun

1. Cut the U, S, A, and Hat from your patriotic hanging. Be sure not to cut the string that's attached to the hat as you will use that to hang your wreath.
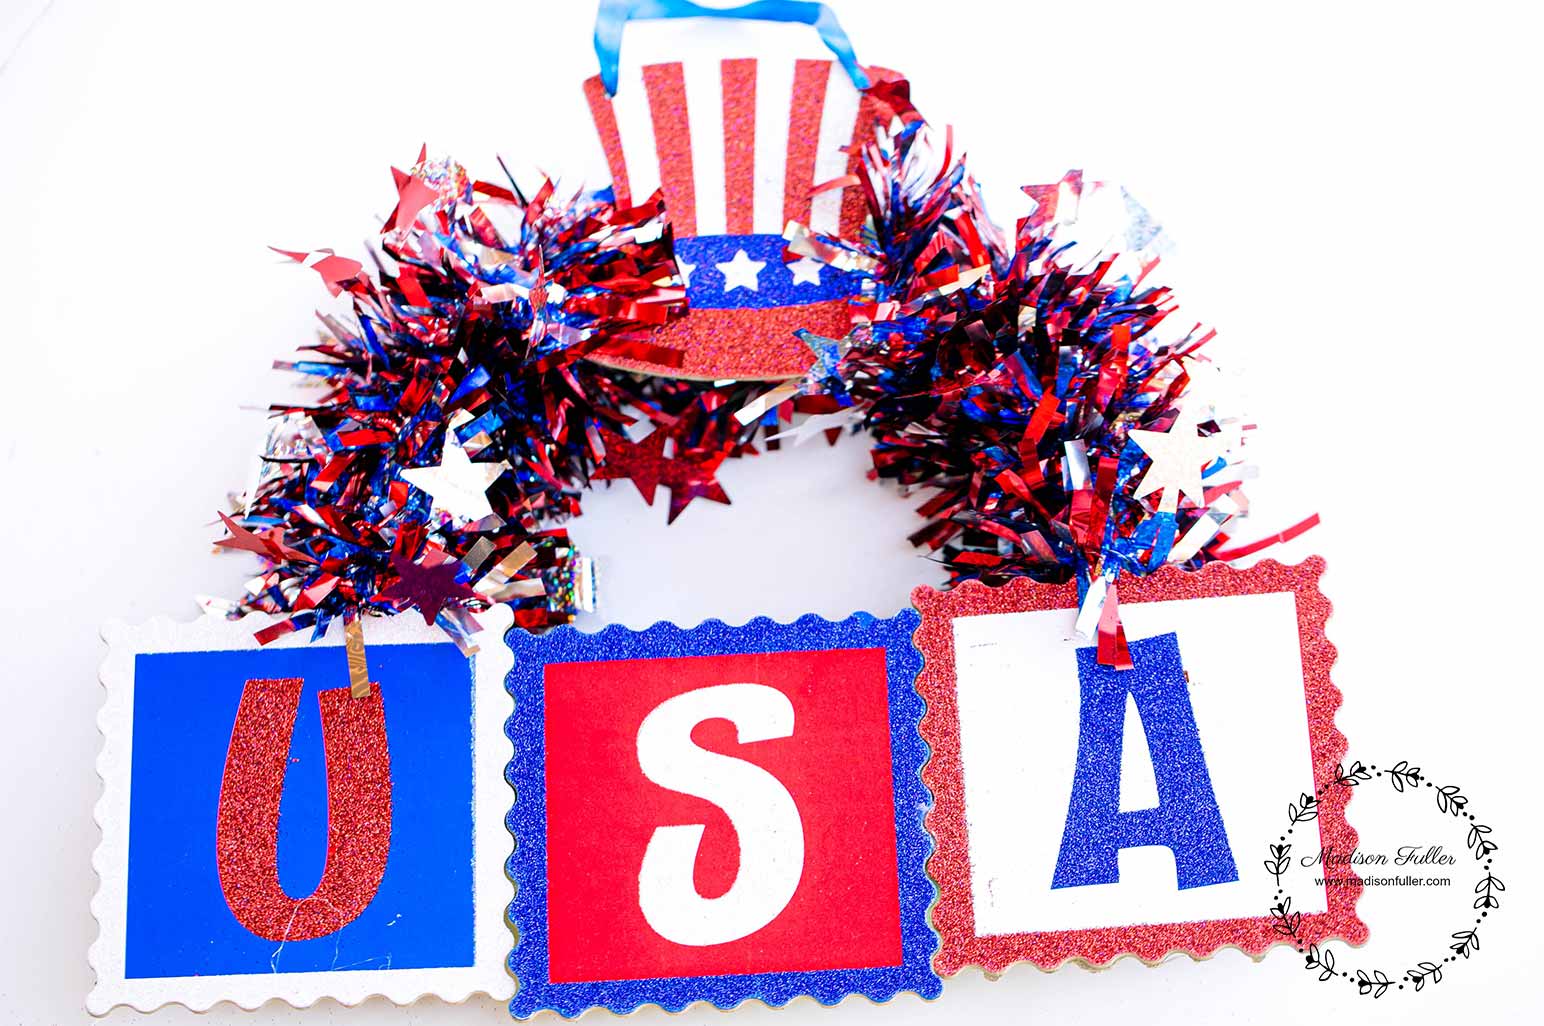
2. Attach the U, S, A, and Hat to your foam wreath with your glue gun. I noticed that the U, S, and A formed a mini puzzle and were able to line them up before gluing them to the wreath.

3. Once the letters and hat are firmly attached to your wreath, it's now time to jazz it up with your patriotic garland. Start from the letter U and connect one end of the garland with a bit of glue, start wrapping from above the letter U on your wreath to cover the green foam until you get to the hat. Go under and start from the opposite side of the hat and continue wrapping until you get down to the letter A. Attach the final end of the garland to the wreath form with some more glue.

That's it! Your 4th of July wreath is finally complete, and now it's time to hang it on your door.


The 4th of July is going to be here before you realize it, but mommy likes decorating her front door with a wreath for the seasons and special holidays. This spring, she created a beautiful umbrella tulip wreath that literally took 5 minutes to do. Even the non-crafty person can recreate it.
We have truly gotten into a patriotic kick around my home. It could be that Memorial Day is just a few days away, and with my mom having served in the military, she gets really emotional around that time.
So far, we've made my 4th of July Mason Jar Vases, and then my mom decided to get crafty with pinecones and made some Patriotic Pinecone Flowers to add to my vase. If you've never turned pinecones into flowers, they're super easy to do, and you can get the full details over on her blog.
So let's talk about this 4th of July Wreath. Now, mommy enjoys having wreaths on her front door, as I mentioned before, but the one thing she doesn't like is the price. They're very expensive in stores, and you can very easily and quickly make your own. For this one, we visited the dollar store and were able to get everything we needed for just $3. There's no way that you can find a wreath in store for that little. Not only is it affordable to make, but it takes very little time as well. Here's how it's done.

DIY Dollar Store 4th July Wreath
Supplies Needed
Mini Wreath Form
Patriotic USA Hanging
Patriotic Garland
Glue Gun

Easy Step-by-Step Directions:
1. Cut the U, S, A, and Hat from your patriotic hanging. Be sure not to cut the string that's attached to the hat as you will use that to hang your wreath.
2. Attach the U, S, A, and Hat to your foam wreath with your glue gun. I noticed that the U, S, and A formed a mini puzzle and were able to line them up before gluing them to the wreath.

3. Once the letters and hat are firmly attached to your wreath, it's now time to jazz it up with your patriotic garland. Start from the letter U and connect one end of the garland with a bit of glue, start wrapping from above the letter U on your wreath to cover the green foam until you get to the hat. Go under and start from the opposite side of the hat and continue wrapping until you get down to the letter A. Attach the final end of the garland to the wreath form with some more glue.

That's it! Your 4th of July wreath is finally complete, and now it's time to hang it on your door.

HAPPY 4TH OF JULY!
PIN THIS POST TO YOUR FAVORITE PINTEREST BOARD.


